
Who needs to travel the world with a bulky DSLR or mirrorless camera and multiple zoom lenses when we have smartphone cameras!
I won’t lie. I treat my expensive camera gear like a child, but sometimes you want to leave the kids at home, so there’s one less thing to worry about when you travel.
Beginner’s Guide to Smartphone Travel Photography
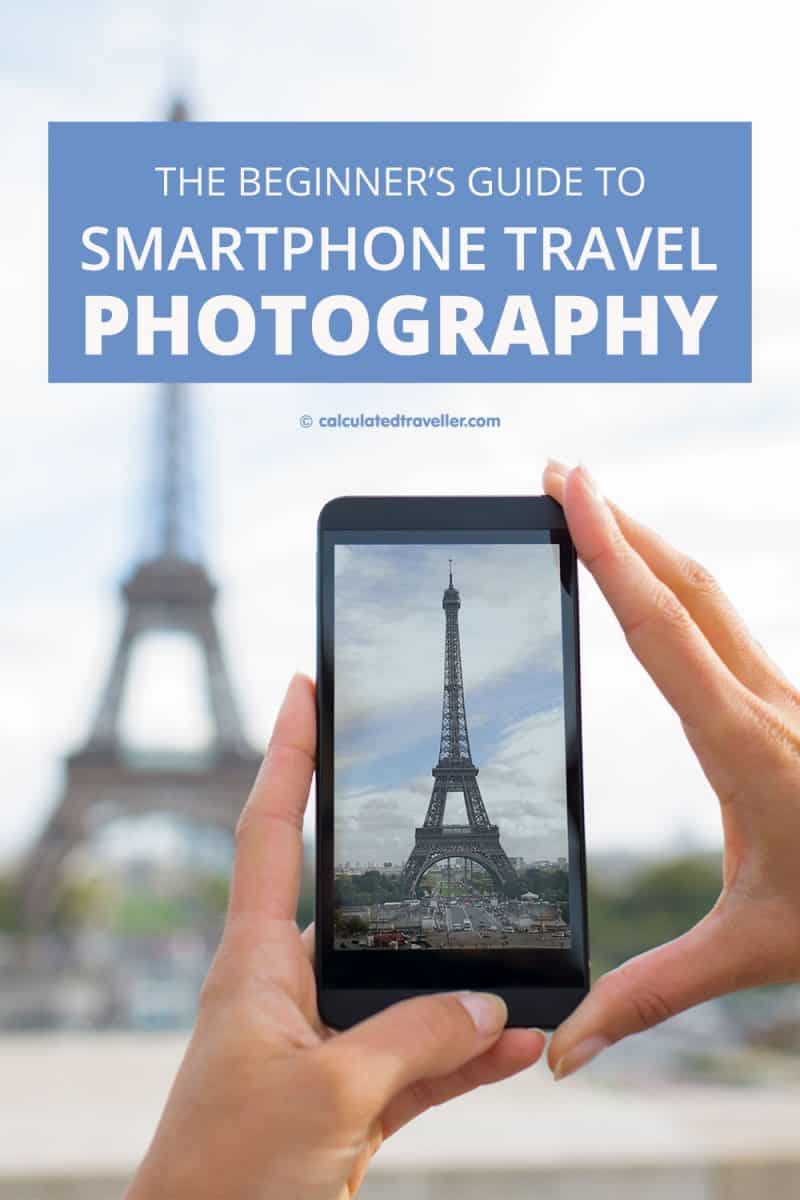
Phones today have come a long way, and in fact, the camera on your smartphone is probably more advanced than many older point and shoot compact cameras that your grandparents have.
If you wish to learn how to take and edit Instagram worthy photos on your mobile device, keep reading for lots of tips!

Smartphone Travel Photography Basics
There are a few basic rules of photography that should be applied whether you’re using a $10,000 Nikon or a $1,000 iPhone.
Although these are the general “rules” of photography, it’s also essential to keep in mind that rules are often meant to be broken.
Start by applying these rules, and once you feel comfortable using them, try breaking them and see how you like the results. The whole process is about creativity, so once you feel comfortable with your camera gear, don’t be afraid to get a bit crazy and creative when taking photos.
Photographer’s Rule of Thirds
The first and most common rule of photography is the rule of thirds.
Start by turning on the grid (two lines vertically and two lines horizontally for nine boxes total) on your phone. Do this by navigating to your settings or doing it directly within the camera app (depending on your phone).
Now that you have the grids displayed, you’ll be able to follow the rule of thirds as you shoot while you are on your trip. The goal is to put your subject in a third of the frame, either vertically or horizontally. When you’re shooting a landscape, your horizon line should be on one of the horizontal lines so that it either takes up 1/3 or 2/3 of the image.
The rule of thirds creates travel photography that is very pleasing to the eye. Give it a try!
PRO TRAVEL TIP: On the iPhone, you can also use on-screen cues to know when your phone is level. This technique is perfect for flat-lay photos of food or your feet on the ground.
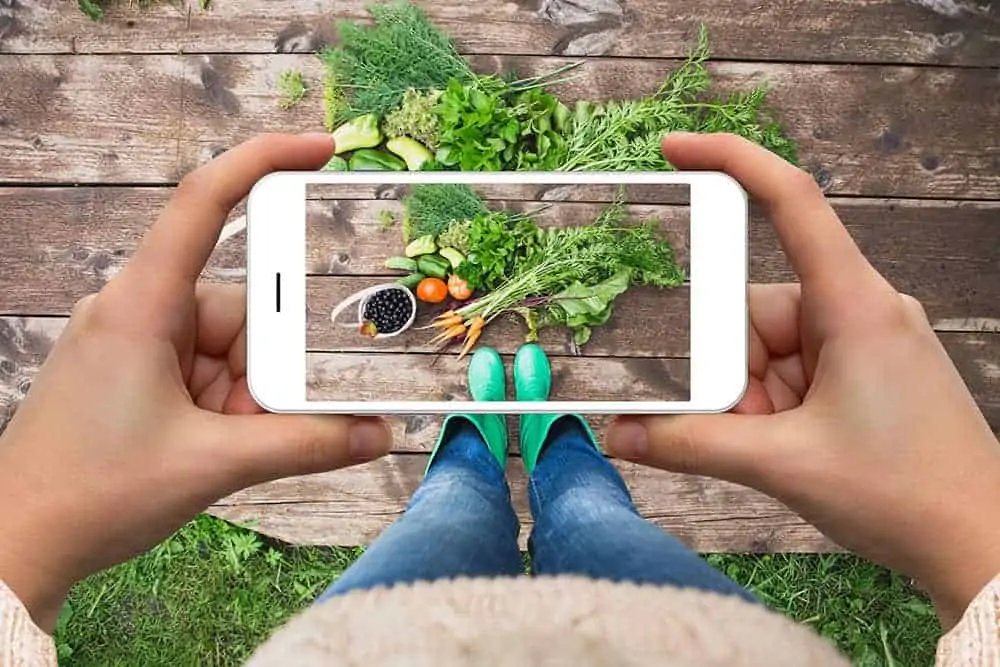
Open your camera app, and you should see two + signs in the middle of the screen. When they line up, your camera is perfectly flat! If you don’t see this, you may need to turn it on in your settings.
Camera Exposure in Travel Photography
The next thing to be conscious of during your mobile photography is the exposure of the image.
If an image is overexposed, it’s too bright, and you lose the highlights. If it’s underexposed, it’s hard to see, but you can bring back the details in editing.
It’s always best to properly expose for the sky in your image because it will likely be the brightest element.
PRO TRAVEL TIP: Change the exposure on your phone by tapping on the screen when your camera is open. A vertical line should appear, and you can pull it up and down to change the exposure.
Add Movement to your Travel Photos
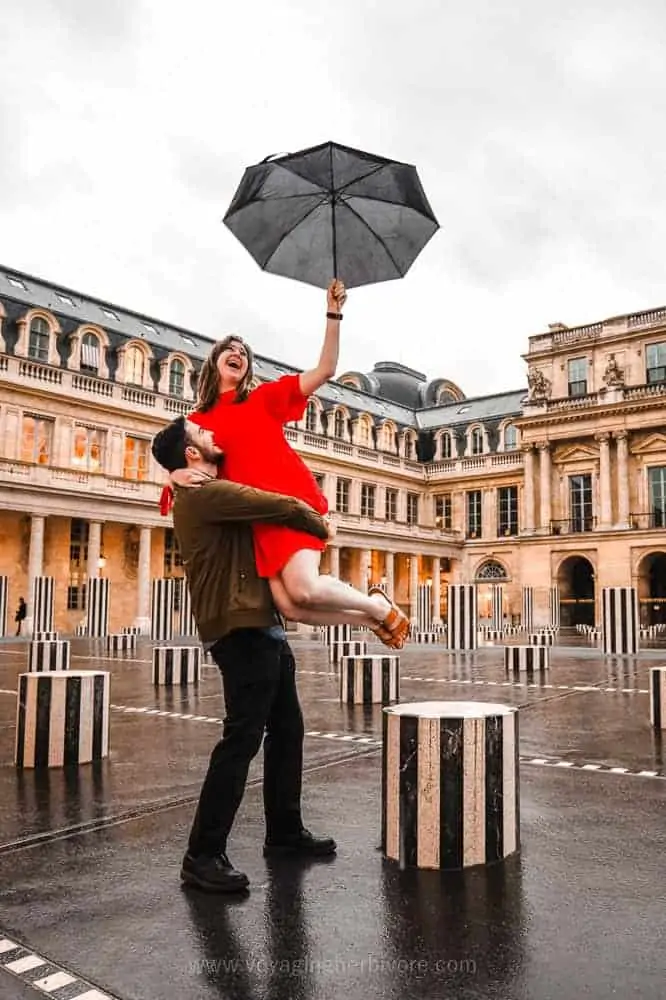
Creating movement in your photos gives the viewer’s eye something to follow. Movement also tells a story and keeps the viewer engaged and asking questions about the photograph. If that’s not the perfect recipe for an Instagram-worthy photo, then I don’t know what is!
Add movement to your photos by moving a dress, flipping hair, or using an accessory. Something as simple as taking your sunglasses on and off while someone holds down the shutter button will give you a selection of different candid options in your travel photos.
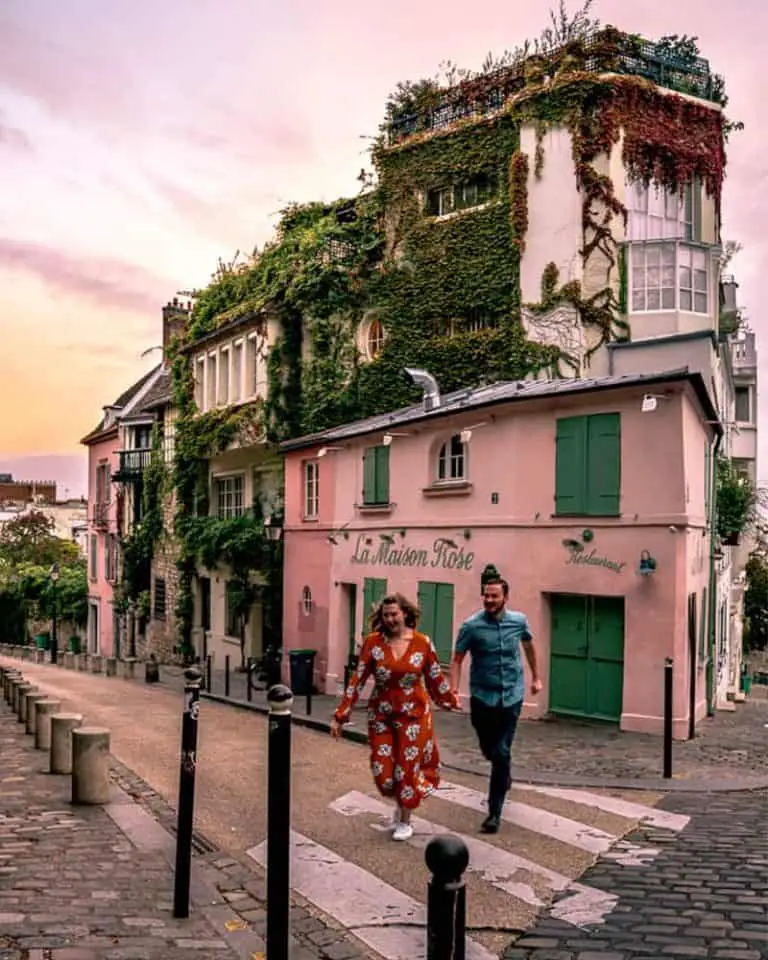
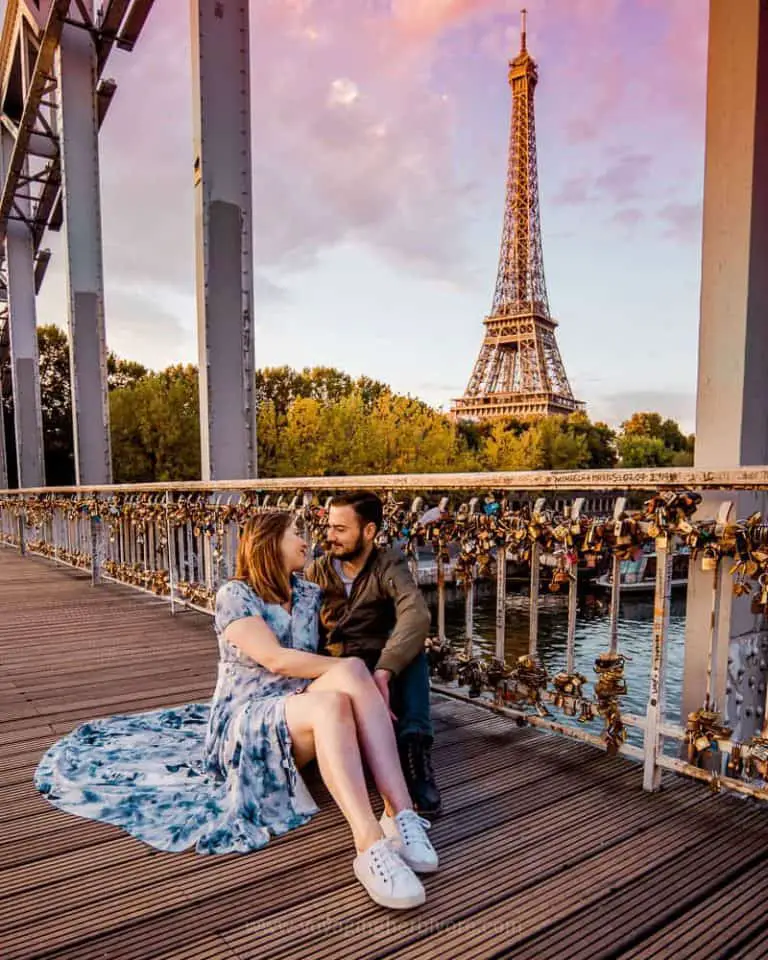
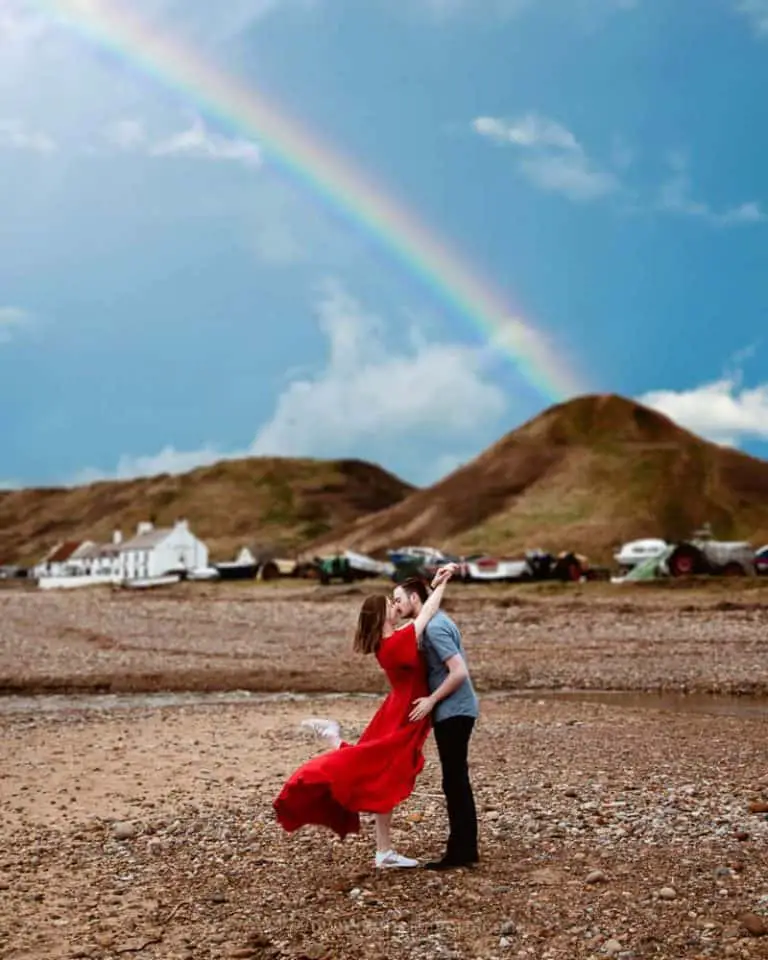
Contrasting Colors
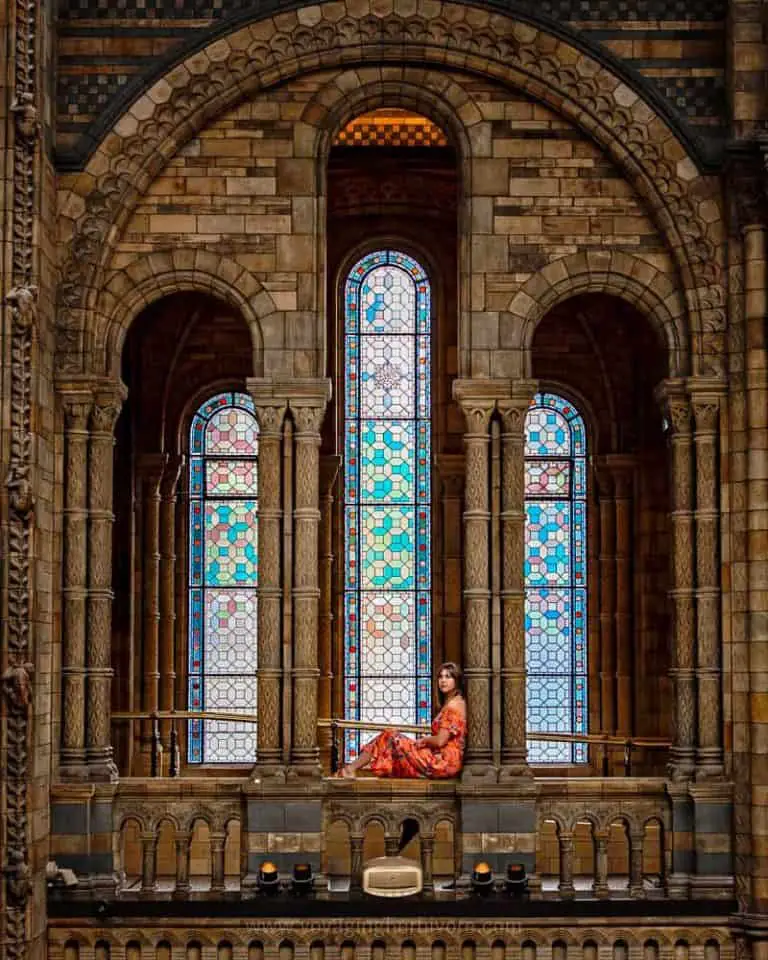
With any photography, it’s essential to be aware of your colours. Do some research ahead of time and know what the shooting area will look like so that you can plan what to wear.
Most of the time, it’s good to stand out from your background. If you’re having afternoon tea in London, research what the colours of the building are (inside or outside) and dress in a contrasting colour.
Wearing different shades of the same colour can also give a very “Instagrammable” aesthetic to your images. Travelling as a couple? Make sure that the colours of both your outfits complement each other.
PRO TRAVEL TIP: Look at the colour wheel to know what colour is the opposite. Find the colour of the location, like a purple lavender field, and across from purple will be yellow. Wear a yellow outfit, and you’ll stand out while still matching!
Editing Your Photos on your Smartphone
You should always edit your photos! I say this in every smartphone travel photography guide that I write: taking pictures and not editing them is like making cake batter and not baking it.
The photos are not finished yet! The cake batter might still be delicious (I could drink the stuff), but it’s not technically done.
Editing your photos allows you to brighten the underexposed image or recover the blown-out sky. It helps saturate colours and convey what you felt at that moment.
If you’re new to editing, the goal should be to make the images look as realistic as possible.
If you’re new to Lightroom and Photoshop, try this tutorial to replace the sky in your image. You’ll also be able to download a free Lightroom preset (filter).
Apps for Editing Photos on your Smartphone
While there are many fantastic apps for travel photography, here are the basics to get you started, no desktop software required!
- Lightroom Mobile: organize and edit your photos for free
- Snapseed: Edit your photos for free
- PhotoPills: See where the sun will be with AR, golden hour timings, and learn astrophotography, paid
- Retouch: Edit out imperfections and distractions, similar to spot healing in Photoshop, paid
All of these apps together will cost you less than $10, and they’re a fantastic place to start learning photo editing.
PRO TRAVEL TIP: If you’re serious about photography and starting a travel blog, it’s worth investing in Adobe’s Photography plan, which includes Lightroom and Photoshop for $10 per month.
Keep Learning and Practicing

Whether you’re new to mobile photography or have been shooting with a pro DSLR for years, there’s always more to learn!
Invest in yourself before you invest in new gear. Take online classes on Skillshare or Udemy and follow your favourite creators on social media to stay inspired. An easy way to learn how to improve your mobile photography is to recreate images that you love. Practice makes perfect!
Don’t be afraid to be creative and always keep learning!

- The Professional design of the imitation camera increases the holding weight for a more stable image and video. The anti-shake Capgrip II could be used in various scenes, including Vlog shooting, live streaming, selfie vlogging, group photos, wide-angle shots, and more.
- One-hand Grip, Easy Operation
- Remote Control to Capture Beautiful Moments
- Cold Shoe Extension
- Lightweight & Wide Width for Various Smartphones --- Only weighs 100g.
- 1/4" thread hole on the bottom to fit standard tripod mount
- "Lens Cap" turns into a Makeup Mirror
As you advance and gain confidence, invest in a few accessories for your smartphone, such as selfie sticks, mini tripods, and wide-angle lens attachments to help you capture pictures of large groups of people. Perfect for crowd shots, events and street photography.

- Includes a 0.63X wide angle Lens, 15X Macro lens, 198Fisheye lens, 3/6 Kaleidoscopes, 4-line star filter, CPL Filter, Flow Filter, Radial Filter 18X telephoto lens with eyepiece.
- This professionally manufactured product is made from aluminum to increase its durability. Enjoy the high-quality technical image effect whether travelling, hiking, or out with friends. It is perfect for taking photos, and you can change these lenses freely.
- This lens kit works with most smartphones.
Authors Alysa and Jack are a full-time travel couple who focus on promoting ethical, sustainable, and plant-based travel. Their website, Voyaging Herbivore details vegan guides around the world as well as sustainable travel hacks and slow travel itineraries.
We hope you found this smartphone travel photography guide helpful! Do you travel with only a cellphone camera?
For more travel photography tips, read:
